
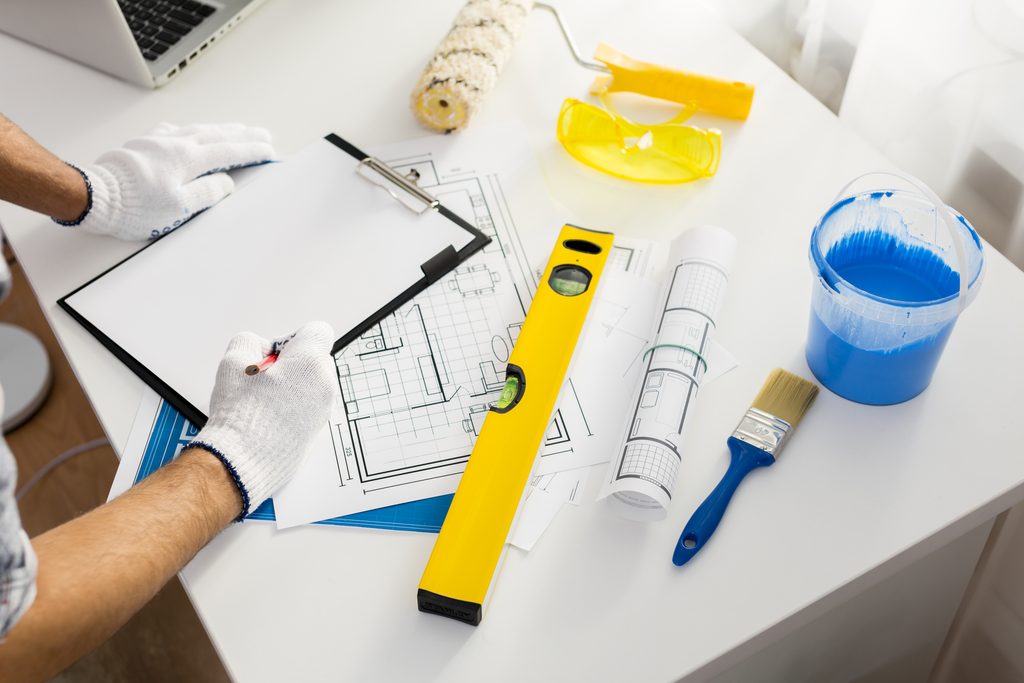
A renovation feels manageable when it is broken into a list. It feels overwhelming when it lives only in your head. This home renovation checklist for Pune homeowners is built to be printed, ticked, and carried from the first idea to the final coat of paint.
Use it alongside our home renovation guide, which covers the planning, budgeting, and common mistakes behind each step in more depth. This page focuses purely on the checklist itself, organised stage by stage, so you always know what comes next.
Stage 1: Before You Touch Anything
The strongest renovations start with paperwork and observation, not demolition. Complete this stage before any contractor sets foot on site.
Checklist
- Walk through every room and list what is working and what is not
- Photograph existing walls, wiring points, and plumbing lines
- Check whether any wall is load-bearing before planning to remove it
- Confirm your ownership documents and society NOC requirements
- Note down building age, especially for wiring and plumbing that may need full replacement
If your home is over 15 to 20 years old, budget extra time for this stage. Old wiring and pipes are often the real reason a renovation grows bigger than planned.
Stage 2: Define Scope and Priorities
Not every room needs the same attention. Decide what is essential and what is optional before you meet a designer or contractor.
Checklist
- List rooms in order of priority: kitchen and bathrooms usually come first
- Decide between a full renovation and a room-by-room approach
- Separate “must change” items from “would be nice” items
- Note any structural changes you are considering, such as removing a wall
- Write down what should stay untouched, including furniture you want to keep
Tip: A phased renovation, one or two rooms at a time, is often easier on both budget and daily life than renovating the whole home at once.
Stage 3: Budget and Financial Planning
Money decisions made early prevent stalled work later. This is one of the most important sections of any home renovation checklist.
Checklist
- Set a total renovation budget based on your priority list
- Add a contingency of 10 to 15 percent for hidden issues
- Decide how the budget splits across civil work, carpentry, and finishing
- Check financing options if needed, such as a home renovation loan
- Get at least two to three quotes before finalising a contractor or designer
For typical cost ranges in Pune, see our guide on construction and renovation costs. If you are also weighing structured pricing formats, our explainer on what a BOQ is and why it matters is useful before you sign a contract.
Stage 4: Permissions and Society Approvals
Many Pune renovations stall not because of design, but because of missing paperwork. Clear this early.
Checklist
- Get a No Objection Certificate from your housing society, if required
- Check society rules on working hours, debris disposal, and lift usage for material movement
- Confirm whether structural changes need approval from the Pune Municipal Corporation
- Inform your immediate neighbours, especially for noisy or dusty work
- Keep copies of all approvals on site during the work
Stage 5: Hiring the Right Team
The people you hire decide the outcome as much as the design itself. Treat this stage carefully.
Checklist
- Shortlist designers or contractors and review their past project photos
- Ask for client references and, if possible, visit a completed project
- Confirm scope of work in writing, room by room
- Clarify who supervises the site and how often you will get updates
- Agree on a payment schedule linked to project milestones
Our guide on things to discuss with your interior designer lists the exact questions to raise at this stage, from materials to warranty.
Stage 6: Design and Material Selection
Once the team is in place, the design takes shape. Keep decisions documented so nothing is left to memory.
Checklist
- Review and approve floor plans or layout changes
- Finalise 2D or 3D design views for each room
- Select materials for flooring, countertops, and cabinetry
- Choose paint colours and finishes, ideally with physical samples
- Approve lighting plan, including switch and socket positions
If you are unsure which look suits your home, our guide on choosing the right interior style can help you decide before materials are ordered.
Stage 7: Civil and Structural Work
This is the messiest phase of any renovation, and the one most affected by delays if earlier stages were rushed.
Checklist
- Demolition of walls or fixtures being removed
- Structural changes, if approved and planned
- Electrical rewiring and new points as per the design
- Plumbing changes, especially in kitchen and bathrooms
- False ceiling framework, where applicable
| Work item | Typical timing |
|---|---|
| Demolition | Start of civil stage |
| Electrical and plumbing | Immediately after demolition, before walls close |
| False ceiling | After electrical points are finalised |
| Wall finishing | Before carpentry begins |
Stage 8: Carpentry and Fixed Furniture
Kitchens, wardrobes, and storage units are usually the largest single expense in a renovation. Track this stage closely.
Checklist
- Confirm board type: plywood, MDF, or HDHMR, based on room and budget
- Approve kitchen cabinet layout and hardware brand
- Approve wardrobe design, internal layout, and finish
- Check measurements on site before final cutting begins
- Inspect fittings such as hinges and channels for smooth movement
Stage 9: Finishing Touches
This is where the renovation starts to look complete. Small details here make a large visible difference.
Checklist
- Painting and wall texture, including touch-ups after carpentry
- Flooring polish or final cleaning, depending on material
- Light fixtures installed and tested on every switch
- Curtains, blinds, or other soft furnishings fitted
- Hardware, handles, and switch plates checked for consistency
Stage 10: Final Walkthrough and Handover
Do not skip this stage, even if you are eager to move back in. A careful walkthrough now saves repeated service calls later.
Checklist
- Walk through every room with your contractor or designer
- Prepare a snag list of any visible defects or incomplete work
- Test all electrical points, switches, and appliances
- Check taps, drains, and water pressure in every bathroom and kitchen point
- Confirm warranty terms and how to raise a service request
- Collect final invoices, warranty cards, and any product manuals
Tip: Hold back the final payment, or an agreed portion of it, until the snag list is cleared. This keeps the incentive to finish properly.
What to Do If Something Goes Off Schedule
Even a well-planned renovation can slip. What matters is how quickly you respond, not whether a delay happens at all.
- Ask your contractor for the specific reason behind the delay, not a vague estimate
- Check whether the delay is due to your own pending approvals
- Get a revised date in writing, along with the steps being taken to catch up
- If delays repeat without explanation, revisit your contract’s timeline clause
A short, calm conversation at the first sign of delay is usually enough to get a project back on track.
Post-Renovation Checklist
A few tasks remain even after handover. These are easy to forget in the excitement of moving back in.
- Deep clean the entire home, including construction dust in cupboards and vents
- Air out the home for a few days before moving furniture back in
- Recheck seals and joints after the first heavy rain or the first hot spell
- Keep a folder with all invoices, warranties, and approved drawings for future reference
- Schedule the first maintenance check as per your warranty terms
Full Home Renovation Checklist at a Glance
Use this table as a printable summary of every stage covered above.
| Stage | Focus |
|---|---|
| 1. Before you start | Assess existing condition and documents |
| 2. Scope and priorities | Decide what to renovate and in what order |
| 3. Budget | Set total budget with contingency |
| 4. Permissions | Society NOC and municipal approvals |
| 5. Hiring | Shortlist and finalise your team |
| 6. Design | Approve layout, materials, and lighting |
| 7. Civil work | Demolition, wiring, plumbing, ceiling |
| 8. Carpentry | Kitchen, wardrobes, storage |
| 9. Finishing | Paint, flooring, fixtures, curtains |
| 10. Handover | Walkthrough, snag list, warranty |
| Post-renovation | Cleaning, documentation, first maintenance |
Common Renovation Delays and How to Avoid Them
Even with a checklist, real projects hit friction. Knowing the usual causes helps you plan around them.
- Late material approvals. Approve samples and finishes quickly once shown, since carpentry cannot proceed without them.
- Mid-project design changes. Changes after carpentry starts cost more in time and money than changes made on paper.
- Missing society permissions. Confirm NOC and working-hour rules before booking your contractor’s start date.
- Underestimated old wiring or plumbing. Budget extra time for older homes where hidden issues are common.
- Unclear scope of work. A vague quote leads to disputes; insist on a written, room-by-room scope.
For a broader view of renovation planning and typical budgeting mistakes, our earlier home renovation guide pairs well with this checklist.
Documents and Tools to Keep Ready Throughout
A renovation generates a lot of paperwork, and losing track of it causes real problems later, especially at warranty time. Keep a single folder, physical or digital, for the entire project.
Checklist
- Ownership documents and society NOC letters
- Signed scope of work and final quotation
- Approved drawings and 3D design views
- Payment receipts for every instalment
- Material invoices and brand warranty cards
- Photos of wiring and plumbing layout before walls are closed
That last point matters more than it seems. A photo of the wiring layout before the false ceiling goes up can save hours of guesswork if you ever need a repair.
Room-by-Room Renovation Priorities
If your budget cannot stretch across the whole home at once, this order generally gives the best return on comfort and resale value.
| Priority | Room | Why it comes first |
|---|---|---|
| 1 | Kitchen | Heaviest daily use and highest impact on convenience |
| 2 | Bathrooms | Plumbing issues worsen over time if ignored |
| 3 | Living room | Most visible to guests and used through the day |
| 4 | Bedrooms | Comfort-focused, can often wait longer |
| 5 | Balcony or utility area | Useful but usually least urgent |
This is a general guide, not a fixed rule. If your bedroom wiring is unsafe, move it up the list regardless of what the table suggests.
Renovating an Older Home vs a Newer Flat
Not every renovation looks the same. The checklist above applies to both, but the weight shifts depending on your home’s age.
Older homes (15+ years)
- Expect full wiring and plumbing replacement in most cases
- Check for dampness, especially in bathrooms and external walls
- Budget more time for structural inspection before design begins
Newer flats (under 10 years)
- Focus often shifts to layout changes and aesthetic upgrades
- Existing wiring and plumbing may only need partial changes
- Society approval process is usually quicker with recent building records
Ready to Start Your Renovation?
Ekratna Interiors & Constructions can guide you through every stage of this checklist, from the first site visit to final handover, with clear timelines and transparent costs.
Book a Free ConsultationFrequently Asked Questions
What should be on a home renovation checklist?
A complete home renovation checklist covers pre-renovation assessment, budget, permissions, hiring, design and materials, civil work, carpentry, finishing, and a final walkthrough with a snag list. Post-renovation cleaning and documentation should also be included.
How long does a full home renovation take in Pune?
A single room can take three to five weeks, while a full home renovation often takes two to four months, depending on scope, approvals, and how quickly materials are approved along the way.
Do I need society permission for a home renovation?
In most Pune housing societies, yes. Many societies require a No Objection Certificate, especially for structural changes, and have rules on working hours and material movement that should be confirmed before work begins.
What is the first step in a home renovation checklist?
Start by assessing the existing condition of your home, including wiring, plumbing, and any structural walls, and confirming your ownership and society documents before any design work begins.
Should I renovate my whole home at once or room by room?
Both approaches work. A phased, room-by-room renovation is often easier on budget and daily routine, while a full renovation suits homeowners who can temporarily relocate or set aside a longer timeline.
What should I check during the final walkthrough?
Test every switch, socket, and appliance, check water pressure and drainage, note any visible defects in a snag list, and confirm warranty terms before making the final payment.
For more planning guides and project ideas, visit the Ekratna blog or follow us on Instagram.